No products in the cart.
News
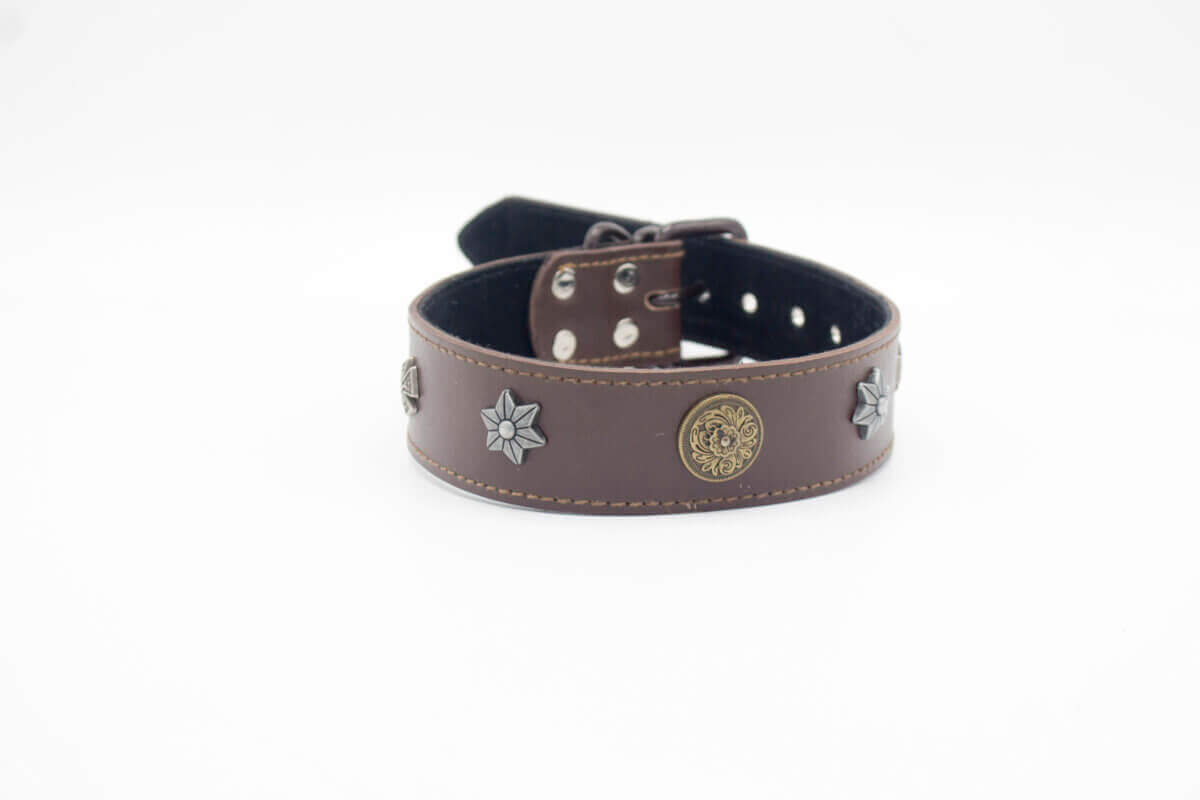
How To Make A Custom Dog Collar?
24
Jan
Jan
If you love dogs, you will appreciate the convenience and style a custom dog collar can add to your life. With so many different designs and colors, you can find the perfect collar for your pup in no time. Sog’s collar keeps the dog safe, but how do you make one? This article will show you how to make a custom dog collar using some helpful online tools.
What materials are needed for customized dog collars?
You will need a few materials to make a custom, personalized dog collar. The type of collar you make will determine what materials you need.
1-Thread
2-A needle
3- Leather or Neoprene
Other materials may also be needed, depending on the type of collar you are making. For example, if you make a harness, you may need to buy fabric and sew it together.
Here is the Basic Step.
1. Begin by finding the right size of thread. The thinner the thread, the finer the collar will be. You can also use a heavy-duty thread for a stronger pet collar.
2. Cut the thread according to the how-to guide or tutorials you have. Make sure you measure your dog’s neck correctly before cutting the thread. Please do not cut the thread too short; it may not hold up well to wear and tear.
3. Sew the ends of the thread together using a needle. Do not over-sew, or it will be difficult to remove later on.
4. Put your dog in position and start sewing around its neck in a crisscross pattern. Leave about an inch of space between each stitch for ease of removal.
With thread, you will need to sew the collar pieces together. With a needle, you will need to sew the threads along the edge of the collar.
How to make custom personalized dog collars?
Making a basic dog collar is easy and can be done with just a few supplies. Here’s how to make one:
1. Start by measuring the circumference of your dog’s neck using a piece of string or a tape measure. Note this measurement so you can use it to create the correct size collar.
2. Cut a piece of fabric that measures the same circumference as your dog’s neck, and then fold the fabric in half so that the raw edge is hidden.
3. Sew the folded edge of fabric together using a straight stitch, leaving a 1-inch opening at the top so that you can fit your dog’s head through the collar once it’s finished.
4. Trim any excess fabric from around the open edge of the collar, and then press it down so that it lies flat against your dog’s neck.
5. Thread a piece of twine or rope through one end of the collar and tie it tightly around your dog’s neck, ensuring the knot is in front of his jaw (not behind it). You can now adjust the collar so it sits comfortably on your dog’s head without being too tight or loose. Engraved dog collars are also a good option.
6. Finally, put the other end of the twine or rope through the hole in the top of the collar and tie it tightly in a knot, ensuring that it’s located behind your dog’s neck. You now have a basic dog collar for every dog breeds.
How to make custom embroidered dog collars?
There is no perfect dog collar and many different ways to make one. You’ll need supplies and sewing skills to make a custom dog collar. Here’s how to do it.
1. Choose the material you want your custom dog collar to be made from. You can use any fabric you like if it’s durable and weatherproof.
2. Measure your dog’s neck using a measuring tape, string, or piece of paper cut to the appropriate size. Make sure to measure around the widest part of the neck, not just the base of the skull.
3. Draw your design on the fabric using a felt-tip pen or a pencil. Be sure to leave enough room around the design so that you can sew it on easily later on.
4. Cut out the design using a hobby knife or scissors. Make sure to leave enough room around the edges so that you can sew them together later on.
5. Sew the edges of the design together using a needle and thread, leaving a small opening at one end so that you can turn it inside out later on.
6. Trim any excess fabric away from the edges of the design, and then turn the collar inside out.
7. Make sure the dog’s neck is lined up properly with the opening in the collar, and then sew the opening closed using a needle and thread.
8. Hang the collar up on a hook or nail in a sunny spot to dry properly.
9. When the collar is dry, you can finally put your design on it! Start by tracing the outline of the design onto the fabric using a marker or pencil.
10. Press the fabric tightly against the marker or pencil lines with a hot iron.
11. Finally, use azigzag stitchor a seam-sealer to finish the edges of the design.
Conclusion
If you want to personalize your dog’s collar, check out our selection of custom dog collars. We have a variety of styles and colours to choose from for a dog’s collar, so finding the perfect one for your pet is guaranteed. Plus, we offer free shipping on orders over $60, so there’s no reason not to shop with us today!