No products in the cart.
News
How to Make a Dog Collar From a Leather Belt?
21
Feb
Feb
There are a lot of different dog collar styles out there, and it can be hard to find the right one for your pup. In this article, we’ll show you how to make a dog collar from a leather belt and give tips on choosing the right size.
Materials Needed
1-Leather belt
2-Cord or lace
3- Buckle
How to Make a Dog Collar from a Leather Belt?
Making a dog collar out of a leather belt is a great way to give your pet a stylish and durable collar. The collar will look great, but it is tough enough to keep your dog safe. Follow these simple steps to make your own:
1. Cut the belt into two equal pieces. The length of the belt should be about 2-3 times the circumference of your dog’s neck.
2. Make a small hole in one end of each belt piece. This is where the buckle will go.
3. Buckle the belt around your dog’s neck using the hole as a guide. Make sure the hole is at the back of your dog’s neck so the buckle can’t fall off (or get pulled through) easily.
4. Make sure that the belt is tight enough so that it doesn’t slip off but not too tight that it causes pain or damage to your dog’s skin. You can also adjust the fit by loosening or tightening the buckle.
5. To make the collar a little more secure, you can knot the belt in a secure knot. Be sure to test the knot before putting it on your dog. Sometimes, knots can become tighter over time and hurt your pet.
Your dog will love wearing their newleather collar, which will look great alongside any of its favourite outfits.
Tips for Making a Perfect Dog Collar
If you’re looking for a DIY dog collar, here are a few tips to keep in mind:
1. Start by measuring your dog’s neck size. This will help ensure that the collar is comfortable and fits properly.
2. Choose a sturdy leather belt. A belt made from thin or weak material may not hold up well to wear and tear over time.
3. Use a tool or needle to make holes along the belt’s edge for the leash’s strap to slide through. Ensure the holes are spaced evenly, so the strap doesn’t pull on the dog’s neck too tightly.
4. Thread the leash through one hole on the edge of the belt and tie it in a knot at the opposite end. Repeat this process for each hole, ensuring each knot is tight enough to stay in place but not so tight that it cuts off circulation to the dog’s neck.
5. Slip thecollararound your dog’s neck and tighten the leash straps until they feel snug but not uncomfortable.
6. Test the collar by putting it on your dog and walking around the house for a few minutes to ensure it’s secure. If any adjustments need to be made, do so before you put the collar on for real.
7. Finally, regularly clean and care for your dog’s new collar to keep it looking and smelling great.
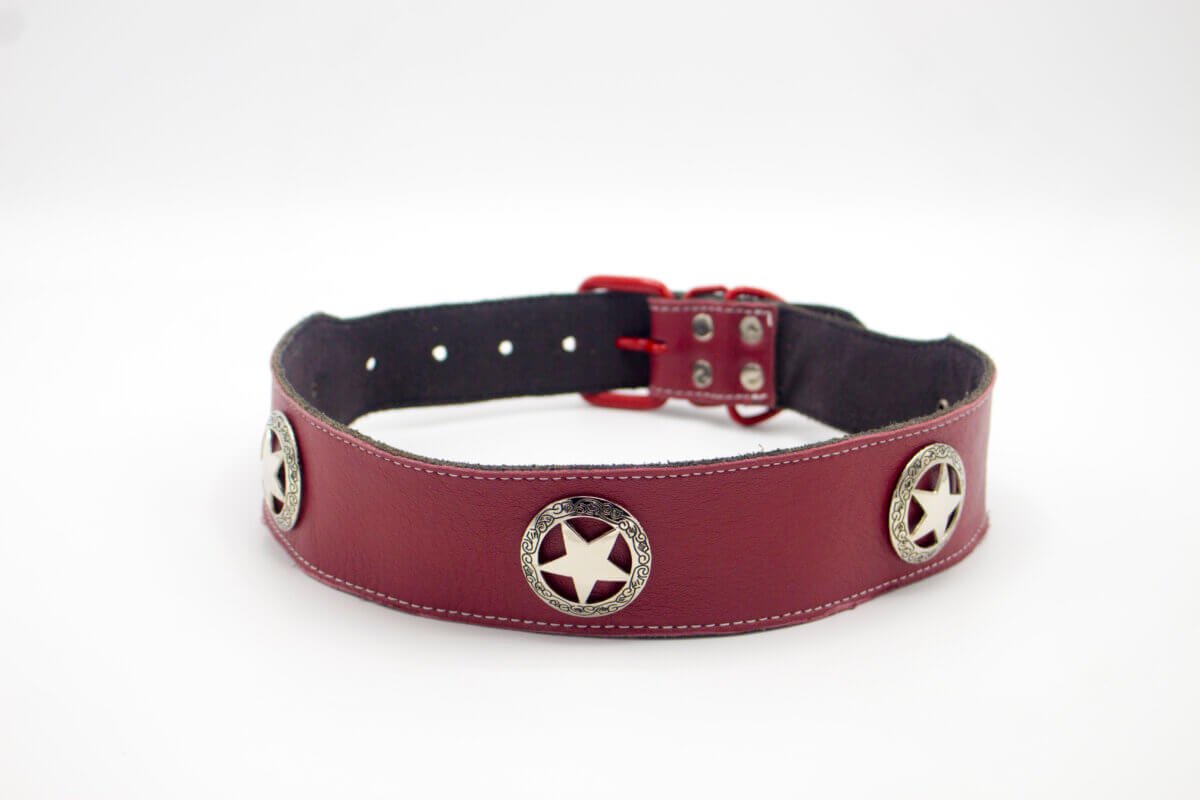
The End Result
If you want to make a dog collar from a leather belt, here’s how to do it! This is a great DIY project for beginner sewers, and it only takes a few minutes to complete. The finished product looks cool, and your dog will love wearing it!
First, measure the belt around your dog’s neck so that you have a good idea of the size of collar you’ll need. You want the collar to be snug but not too tight, so go slowly when measuring.
Once you have the correct size, cut the belt down the middle using a sharp knife or scissors. Ensure to angle the blade to cut straight through the belt without ripping it.
Start sewing the two halves of the belt together using a zigzag or serger seam. Leave a 1-2 inch gap at each end of the collar so it can comfortably fit around your dog’s neck.
Finally, put on your dog and test out the fit by pulling on one end of the belt – it should stretch easily and fit snugly around their neck. If not, adjust the gap at each end until it does.
Congratulations, you’ve just made a leather dog collarout of a belt!